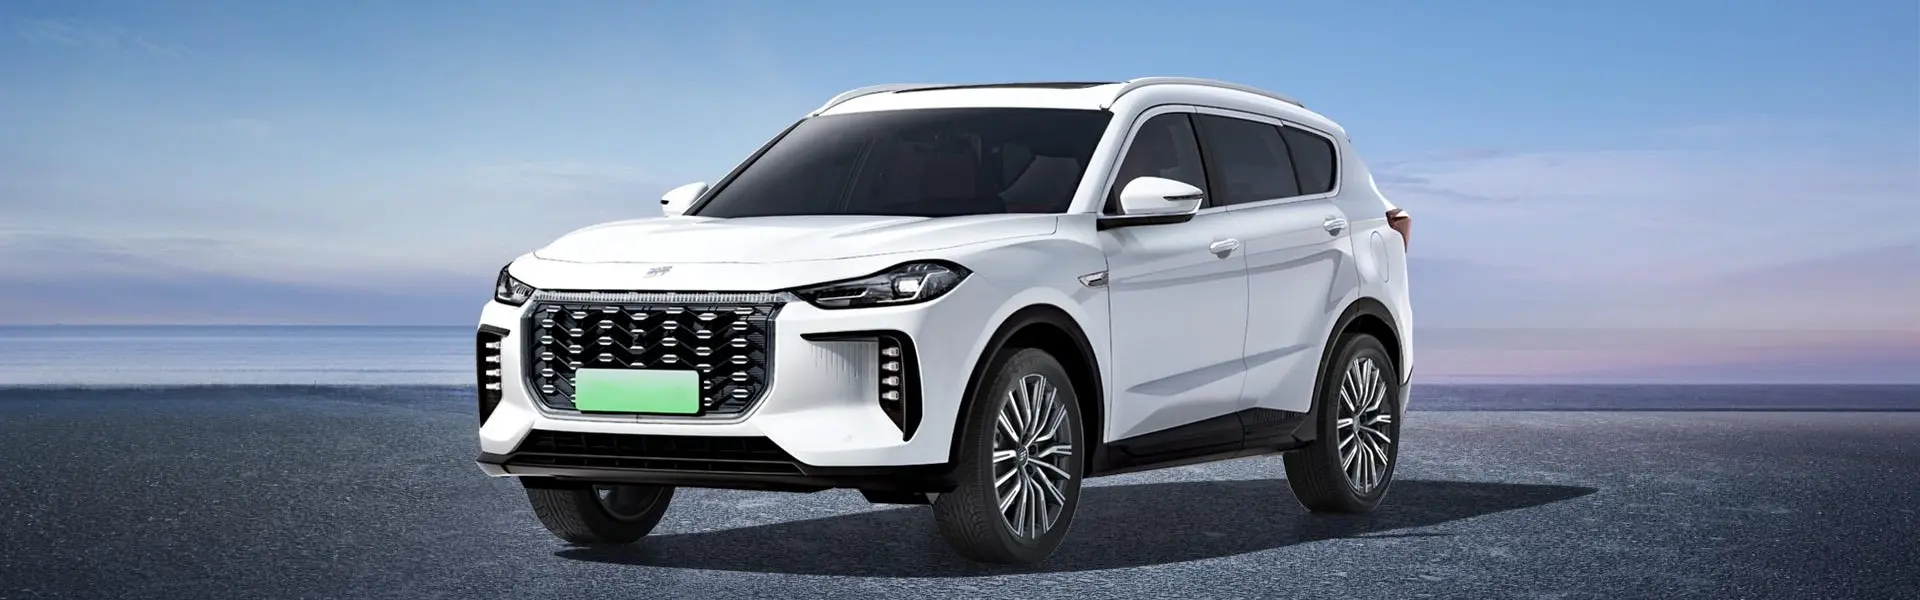
Front Bumper for Chery EXEED LX: A Complete Guide
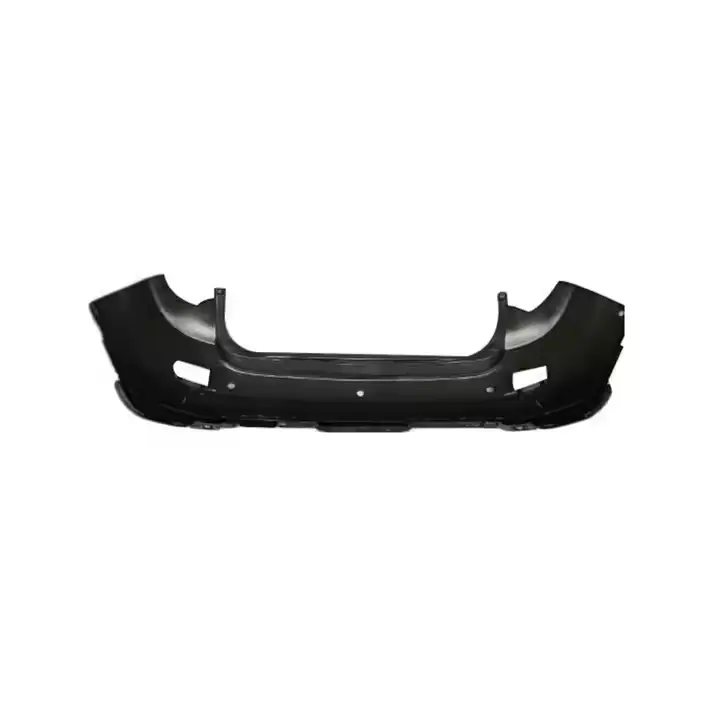
The Chery EXEED LX, the compact premium crossover from Chery's sub-brand, has undergone multiple styling updates since its debut. The front bumper is one of the most prominent design elements that differs across model years. Whether you are replacing a damaged part, upgrading to a newer look, or simply understanding the differences between versions, this guide covers everything you need to know.
Model Year Differences
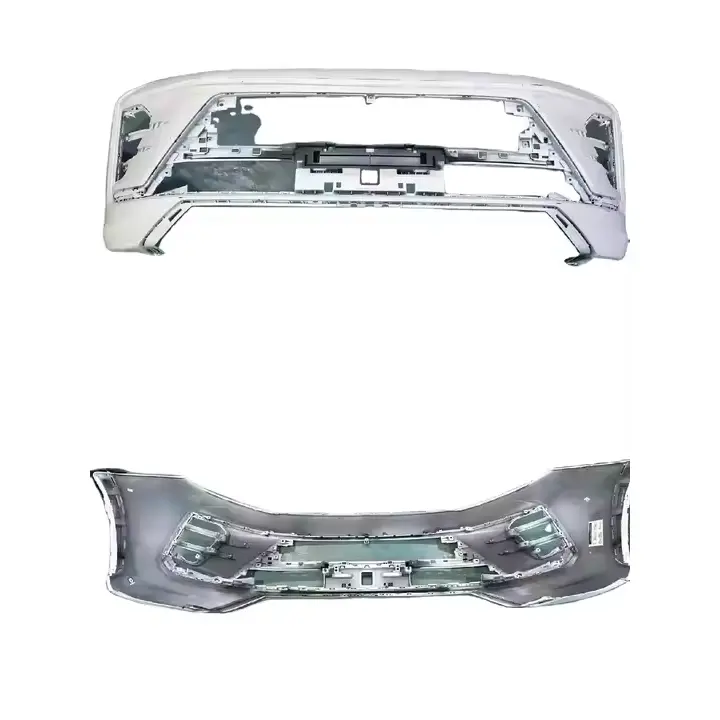
The EXEED LX has seen several facelifts, and the front bumper design changed significantly with each. Identifying the correct version for your vehicle is the first and most critical step.
Pre-Facelift (2019–2021)
The original EXEED LX featured a distinctive split-front design. The grille was divided into upper and lower sections with horizontal chrome bars. The bumper integrated vertical air intakes on both sides, giving it a sharp and somewhat aggressive stance. The massive radiator grille with horizontal slats made the front bumper look wider than it actually was.
First Facelift (2021–2022)
This version received minor tweaks, with a revised front bumper featuring different contours. This is the version that entered the Russian market in 2022.
Second Facelift – Current Generation (2023–present)
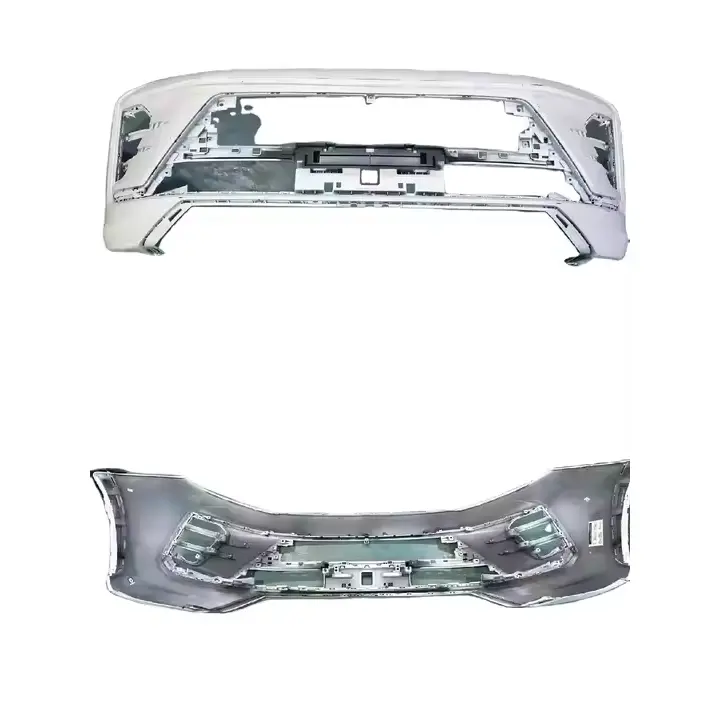
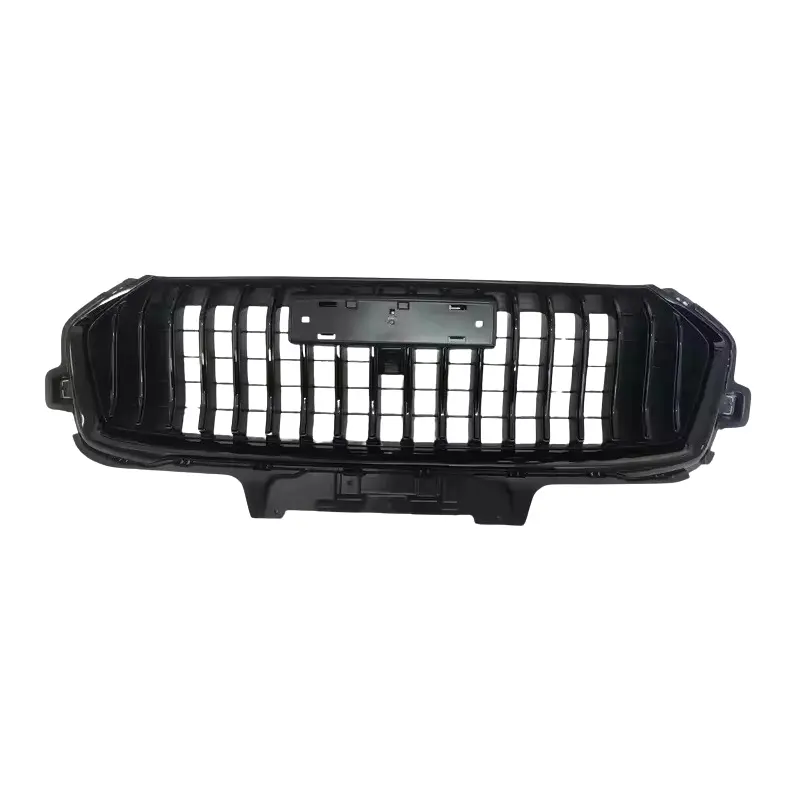
The most significant styling overhaul came in 2022. This update introduced a completely new front bumper group with vertical LED daytime running light strips integrated at the edges. The frameless grille became larger with variable-density honeycomb patterns.
Important Note: Bumper parts are not interchangeable between generations without additional modifications.
Essential Part Numbers for Ordering
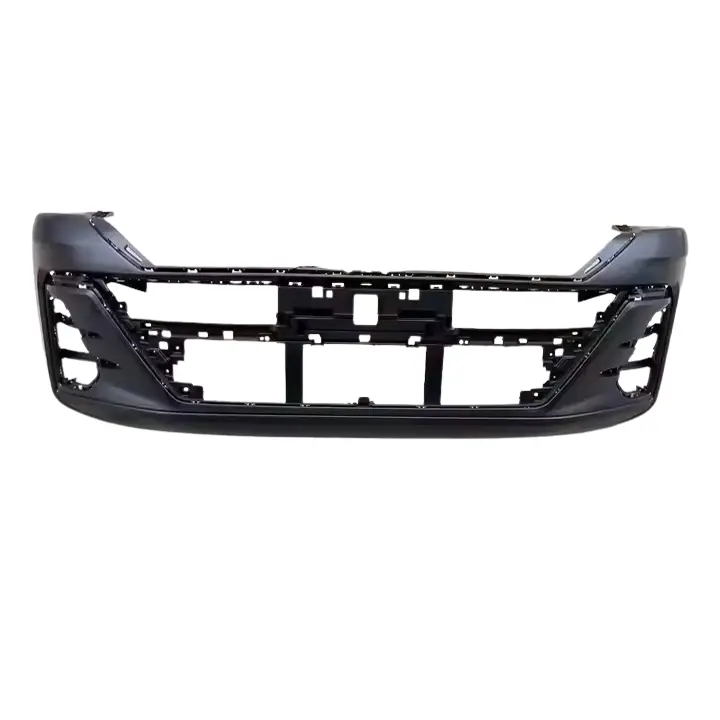
When purchasing a front bumper for the EXEED LX, use the OEM part numbers to ensure compatibility. Below are confirmed numbers:
Complete Front Bumpers
| Part Number | Applicable Model / Version | Description |
|---|---|---|
| 602006449AA | EXEED LX, second facelift (2023–2025) | New OEM front bumper; commonly cited for DIY replacement and painting |
| 602001892AA | EXEED LX (2019–) | OEM front bumper, used part |
| 602001974AADQJ | EXEED LX (2020) | Used front bumper in dark gray, requires minor repair |
Bumper Components and Accessories
| Component | Part Number |
|---|---|
| Front bumper lower trim / skirt | 602000763AAAKH |
| Front radar sensor cover / bumper trim | 602000770AA |
| Front radar sensor cover / bumper trim (alternative) | 704000139AA |
| Bumper bracket, left side | 602000218AA |
| Bumper bracket, right side | 602000219AA |
| Front bumper wiring harness (2023 model) | 806010912AA |
Quantity Information
When ordering components, note the following quantities:
-
The radar sensor cover requires one unit per vehicle.
-
The bumper bracket is required for both left and right sides, with one bracket on each side.
-
Installation hardware such as screws, clips, and fasteners may require multiple units depending on your specific repair needs. Always verify the exact fastener count with your supplier or service manual.
DIY Replacement and Painting Guide
Replacing the front bumper is a task that a skilled DIY enthusiast can tackle with the right preparation. A detailed guide outlines the step-by-step process for the EXEED LX second facelift model.
Tools and Materials Required
Socket and wrench setPhillips screwdrivers
Plastic trim removal tools for unclipping fasteners without damage
Spray cans with primer, color-matched paint using your VIN code for exact color, and clear coat
Degreaser, lint-free cloths, and anti-static wipes
Abrasive sponges with P600 to P800 grit
Rubber gloves and a respirator
Step 1: Removal
Start by removing the screws located in the wheel arches and under the front section. Carefully release the clips along the bumper perimeter using plastic trim tools, paying special attention to the connection points with the fenders. Work gently to avoid breaking the clips, as they will be reused.
Step 2: Test Fitting
Before painting, test-fit the new bumper on the vehicle. This is crucial to confirm perfect alignment, fitment of all mounting holes, and precise contact with adjacent body panels. It is much easier to address any fitment issues at this stage than after painting.
Step 3: Surface Preparation
Degrease the bumper surface, then scuff it with an abrasive sponge to create micro-roughness for better paint adhesion. Degrease it again. Apply primer in even strokes from a distance of 25 to 30 centimeters.
Step 4: Painting and Clear Coat
After the primer dries, apply the base color in two to three thin layers with flash-off time between coats. Wipe with an anti-static cloth to remove dust, then apply two layers of clear coat using the same technique.
Step 5: Installation
Once fully dried, install the bumper in the reverse order of removal. Carefully align the joints with the headlights and fenders to ensure even gaps.
Professional Tips
-
Work in a clean, well-ventilated area with a temperature of at least 18 degrees Celsius and moderate humidity.
-
Keep the spray can moving constantly to avoid runs and sags in the paint.
-
Do not skip degreasing and anti-static treatment. These steps determine whether dust and debris remain on the freshly painted surface.
Aftermarket Options
For owners looking for additional protection, there are also aftermarket protective bumper guards available. One example is the G32 front bumper guard for the Chery EXEED LX, which fits models from 2022 onward. It is a welded frame made of stainless steel tubes, with a 60 millimeter main tube and a 42 millimeter secondary tube, that provides protection against mechanical damage, scratches, and chips during off-road or city driving.
Final Checklist Before Purchase
Before placing your order, confirm the following:
The model year of your EXEED LXWhether your vehicle is pre-facelift, first facelift, or second facelift
The exact color code from your VIN sticker if you plan to paint the bumper
Whether you need a complete bumper or only specific components
The quantity of each part and fastener required for your specific repair
Disclaimer: This guide is for informational and educational purposes. Always consult your vehicle's specific service manual and verify part compatibility with your VIN before purchasing or performing repairs.
Related News
- How to Replace Rear Tail Light for Chery Tiggo 8 Pro Max Without Cutting Wires?
- Front Grille for GWM Haval New Jolion: A Practical Guide to Replacement, Selection, and Maintenance
- Why Is the Front Headlight for Geely Atlas Pro Essential for Safety and Style
- Why Is the Front Bumper for Chery EXEED LX an Essential Upgrade for Your Vehicle
- Why Is a Fender for Geely EMGRAND Essential for Vehicle Protection and Style
- Why Are Daily Running Lights for GWM HAVAL Jolion Essential for Safety and Style
Leave me a message